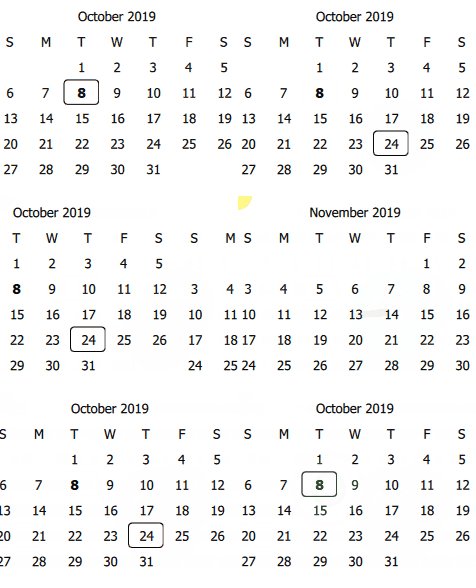
Creating QML Controls From Scratch: DatePicker

Continuing our QML Controls from Scratch series, this time we will implement a DatePicker, which allows the user to select any calendar date (year, month, day). DatePicker's public interface consists of a set() function and a clicked() signal. A function set() is used instead of a property since DatePicker also returns a date (via clicked()) and we only want to set once (i.e. not a binding). set() and clicked() both pass a JavaScript Date, but use only the date part (year, month, day) and don't use the time part (hours, minutes). DatePicker is implemented as a ListView, which can be swiped left or right to change the month.
Note: as of this writing, JavaScript Date contains a bug on Qt 5.12.x and 5.13.x on MinGW on Windows that prevents DatePicker from working correctly.
DatePicker.qml
import QtQuick 2.0

ListView {
    id: root

 // public
    function set(date) { // new Date(2019, 10 - 1, 4)
        selectedDate = new Date(date)
        positionViewAtIndex((selectedDate.getFullYear()) * 12 + selectedDate.getMonth(), ListView.Center) // index from month year
    }

    signal clicked(date date);  // onClicked: print('onClicked', date.toDateString())

 // private
    property date selectedDate: new Date()

    width: 500;  height: 100 // default size
    snapMode:    ListView.SnapOneItem
    orientation: Qt.Horizontal
    clip:        true

    model: 3000 * 12 // index == months since January of the year 0

    delegate: Item {
        property int year:      Math.floor(index / 12)
        property int month:     index % 12 // 0 January
        property int firstDay:  new Date(year, month, 1).getDay() // 0 Sunday to 6 Saturday

        width: root.width;  height: root.height

        Column {
            Item { // month year header
                width: root.width;  height: root.height - grid.height

                Text { // month year
                    anchors.centerIn: parent
                    text: ['January', 'February', 'March', 'April', 'May', 'June',
                           'July', 'August', 'September', 'October', 'November', 'December'][month] + ' ' + year
                    font {pixelSize: 0.5 * grid.cellHeight}
                }
            }

            Grid { // 1 month calender
                id: grid

                width: root.width;  height: 0.875 * root.height
                property real cellWidth:  width  / columns;
                property real cellHeight: height / rows // width and height of each cell in the grid.

                columns: 7 // days
                rows:    7

                Repeater {
                    model: grid.columns * grid.rows // 49 cells per month

                    delegate: Rectangle { // index is 0 to 48
                        property int day:  index - 7 // 0 = top left below Sunday (-7 to 41)
                        property int date: day - firstDay + 1 // 1-31

                        width: grid.cellWidth;  height: grid.cellHeight
                        border.width: 0.3 * radius
                        border.color: new Date(year, month, date).toDateString() == selectedDate.toDateString()  &&  text.text  &&  day >= 0?
                                      'black': 'transparent' // selected
                        radius: 0.02 * root.height
                        opacity: !mouseArea.pressed? 1: 0.3  //  pressed state

                        Text {
                            id: text

                            anchors.centerIn: parent
                            font.pixelSize: 0.5 * parent.height
                            font.bold:      new Date(year, month, date).toDateString() == new Date().toDateString() // today
                            text: {
                                if(day < 0)                                               ['S', 'M', 'T', 'W', 'T', 'F', 'S'][index] // Su-Sa
                                else if(new Date(year, month, date).getMonth() == month)  date // 1-31
                                else                                                      ''
                            }
                        }

                        MouseArea {
                            id: mouseArea

                            anchors.fill: parent
                            enabled:    text.text  &&  day >= 0

                            onClicked: {
                                selectedDate = new Date(year, month, date)
                                root.clicked(selectedDate)
                            }
                        }
                    }
                }
            }
        }
    }

     // Component.onCompleted: set(new Date()) // today (otherwise Jan 0000)
}
Test.qml
import QtQuick 2.0

DatePicker {
    Component.onCompleted: set(new Date()) // today
    onClicked:             print('onClicked', Qt.formatDate(date, 'M/d/yyyy'))
}
Summary
In this post, we created a DatePicker control. Next time we'll create a BarChart. The source code can be downloaded here.